Project Proposal & Concept Brief:
Project Name
Who Am I?
Contributors & Roles
Elsa Roeber
Sara St. Clair
Elevator Pitch of Concept
When an individual’s life story gets stripped from their physicality, problematic assumptions can be made from such a limited glimpse. Our project, entitled Who Am I?, will inspire viewers to ask themselves: who am I besides my physicality? what do others see of me? and what do others hear from me? Using multimodality to execute our concept — cast molds, mounted images, and audio — we invite people of all abilities to enjoy our experience.
Concept: Intention and Vision of Experience
Extended Description / Background / Overview
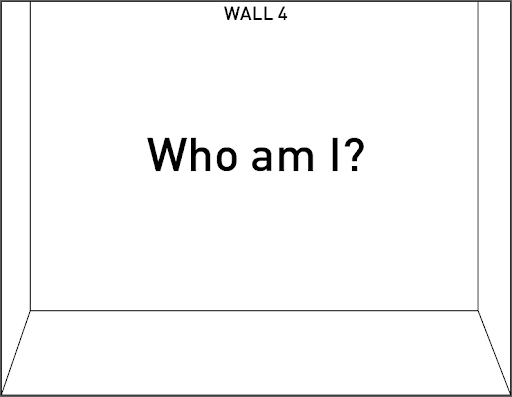
As a derivation of an earlier project that focused on cast impressions of body parts and audio of people’s breath, we plan to create an entire gallery showing of an experience which explores knowing a person’s physical presence alone. Many people may feel that their physical and outward appearances are extremely important and by titling our project Who Am I? we question these notions. We will have the physical; an impression of a body part, the audial; a person’s voice, and the visual; artistic representations of the body part which is cast. This will provide a multi-sensory experience, yet it is still stripped of any real information about the person – their name, interests, emotions, or background, and by finishing the exhibition with large vinyl text that reads Who am I? the viewers are left considering who they are without these attributes.
Context: Formative Circumstances of Experience
Blueprint of the room, with 8 podiums distributed: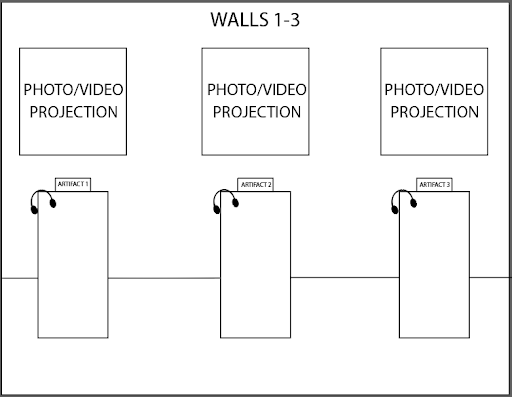
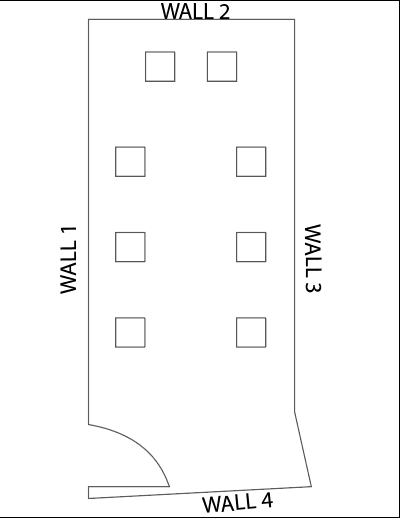
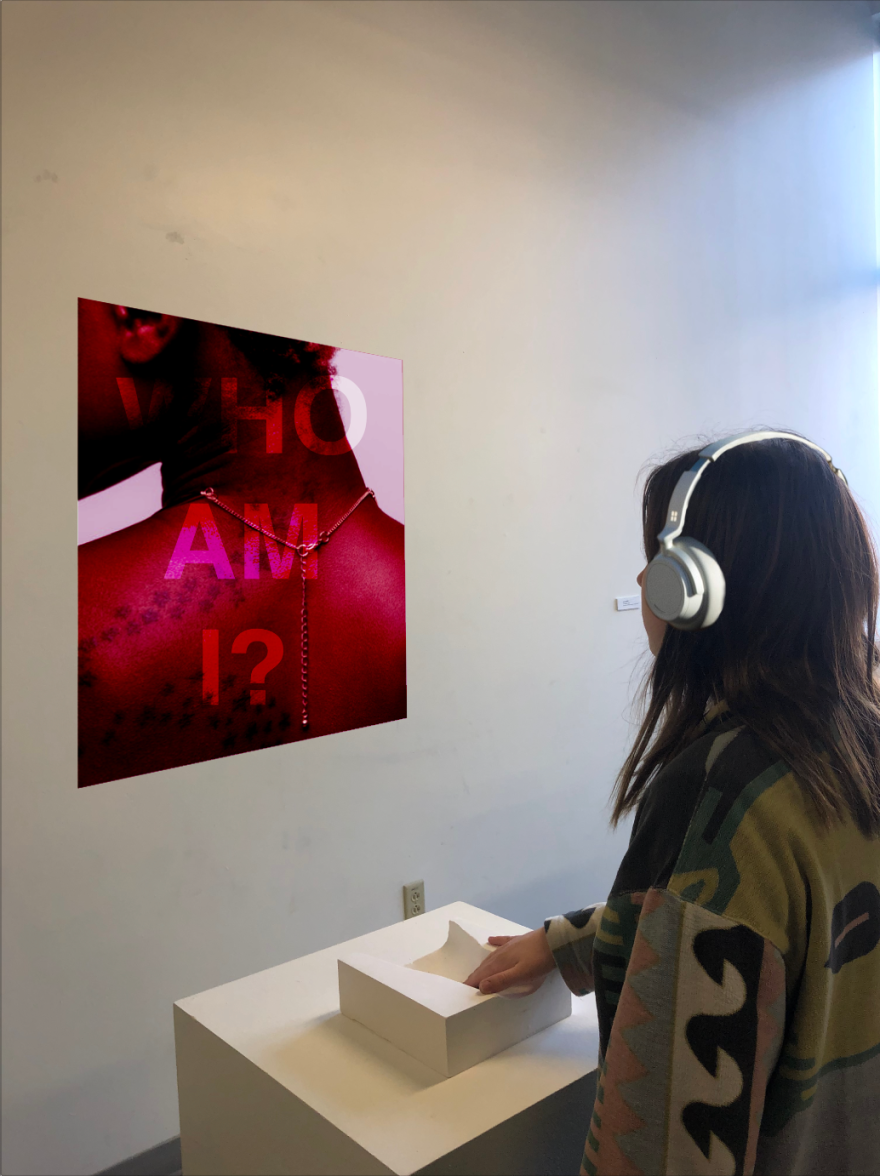
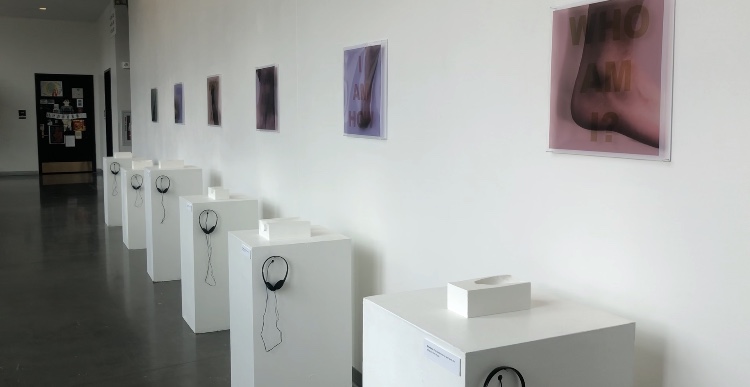
Each podium has a cast mold artifact of a body part, next to headphones. In front of the podiums are mounted large posters on the walls.
Above the whole line of podiums will be “Who am I?”, uniting the whole installation.
Venue / Site
This project will fill a gallery exhibition space. We plan to install it in the North Wall of the 2nd Floor in the Visual Arts Center. By installing this piece in a gallery/art museum setting, people are expecting to have an experience, think about concepts and ideas in new ways, and question the material presented. This site is also a place for critique and for objects to be judged based off of their formal elements, and as this is a low tech- material focused project, we feel this is appropriate.
Target audience
Our experience is open to everyone, but adolescents or adults will probably get the most out of our project. Only because adults will most likely be able to reflect on relationships they have and they assumptions they make about people more deeply than children.
In order to make Who Am I? accessible, we are incorporating touch, sound, and visuals into each of the “portraits”. By including 3 of the senses in our experience, the user will be able to engage and reflect in their own way, regardless of their differing abilities.
Hero shot: People interact by wearing the headphones, touch the mold, and gaze at the image.
Technical Detail
System Diagram:
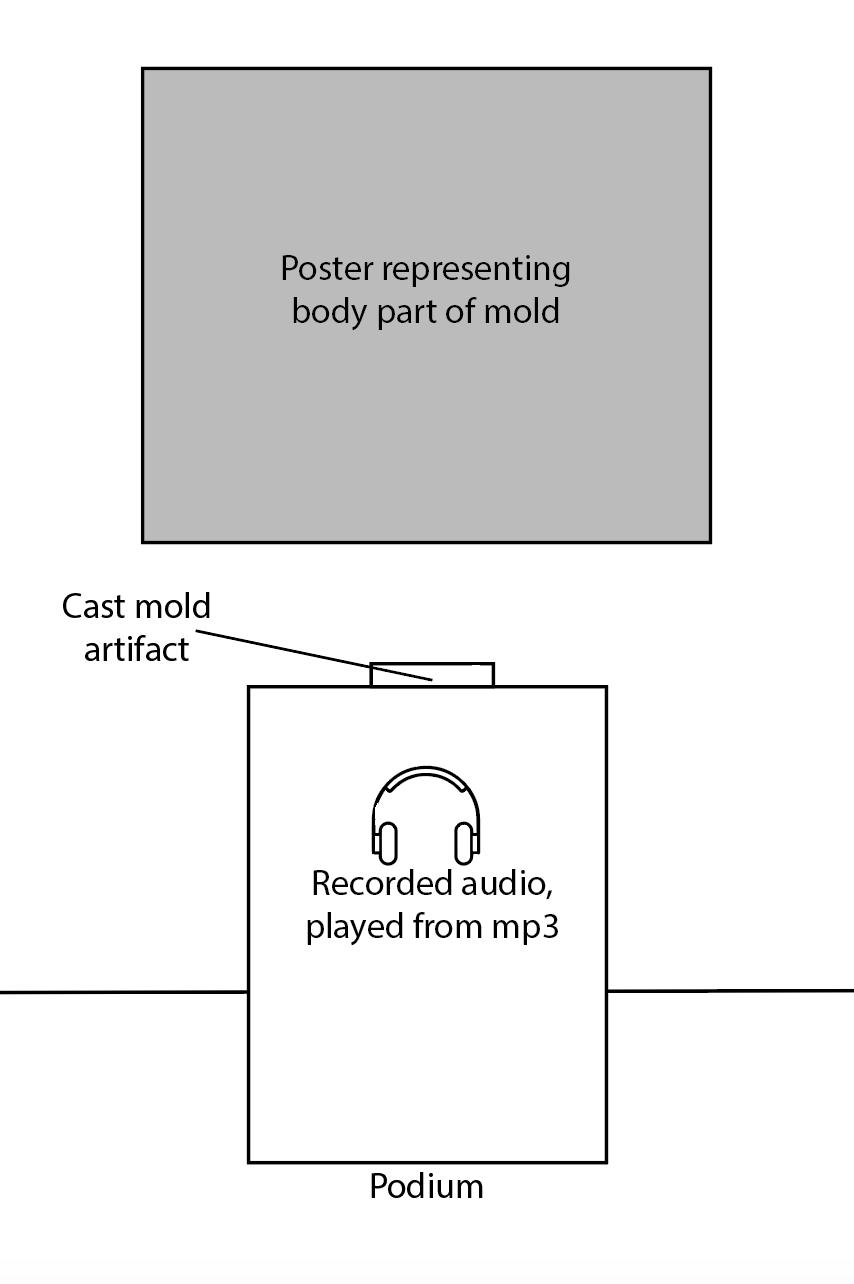
- For the posters, we will taking photos, editing them in photoshop, printing them at the VAC and mounting them to make them look the best on the white walls of the galleries
- We will record the audio on our phones in recording rooms on the 3rd floor of Atlas, and play them from mp3 players from headphones. The audio will be a mundane conversation (mimicking those a person has with acquaintances throughout the day) and then ending with a deeper question, causing the viewer to reflect.
- To make the cast molds, we will use the same strategy that Sara used for the narrative project
- We can print the vinyl sign in the VAC, after designing it in Illustrator
Bill of Material
- 8 podiums (as shown in hero shot, can be found in VAC)
- 8 cast molds (Sara can make them)
- 8 posters to go with cast molds (Elsa is experienced in Adobe Ps)
- A venue in the VAC
- 8 audio recordings to go with each station
- 8 pairs of earbuds / headphones
- 8 iPod / mp3 players to play audio (battery charged)
- Vinyl “Who Am I?” to match the last frames of each video
Creative Objectives
As the creators of this project, we want people to walk away from the experience questioning what it means to know someone, and what it is that makes them who they are. By showing the audience three major forms of a person, yet only in fragments, and following this information with the question: Who am I? the audience must consider then that they have heard, seen, and felt them in intimate ways, yet they have no idea even basic information about that person. Based off of how the original project, Disembodied Intimacy went I expect the viewers to feel uneasy in some moments, as gaining intimate knowledge of someone unknown can be uncomfortable, and at the same time, facing the question of who you are without physicality can be unsettling.
Evaluation
We would like to be evaluated on presentation, execution and formal elements of design
PROCESS
We approached the implementation of our project in three waves, to stay organized with the three mediums: plaster molds, image, and audio. After we had all of the components finished, we installed.
Plaster Molds:
To make the plastic molds, we had to build and seal wooden frames to hold the plaster. We screwed the four walls together and put them on a big piece of wood to make them easy to remove. In order to prevent plaster from leaking through we pressed clay to the joint regions. Here are the pieces of wood we used to make the frame:
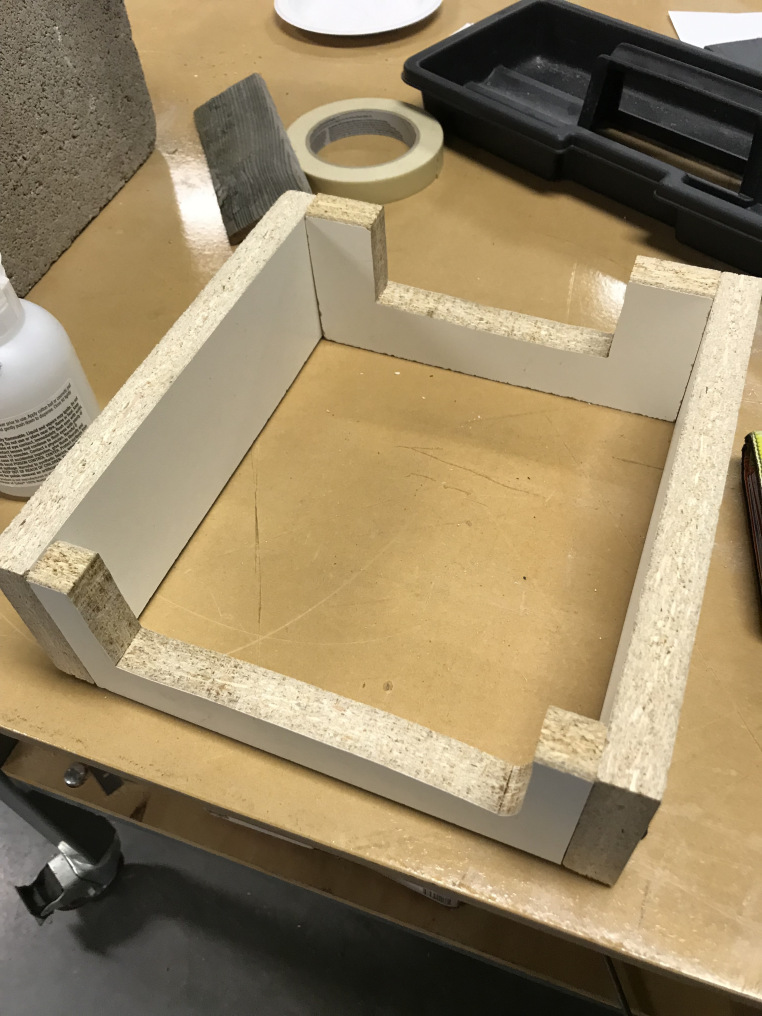
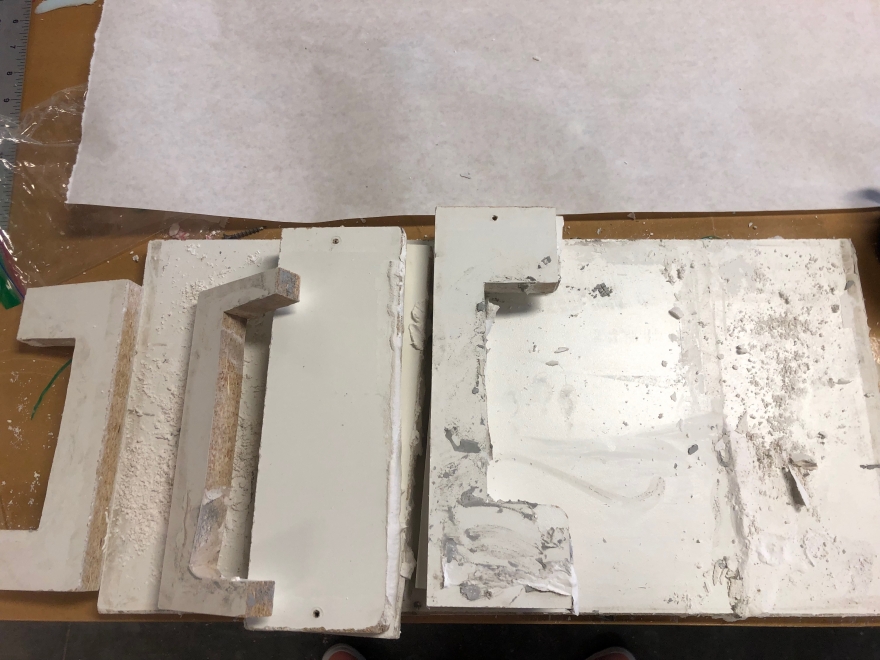
After that we were ready to start molding! Once the plaster was mixed (water + plaster powder) we poured it into the mold, with the body part already holding the pose. It took about 30 – 40 minutes for each mold to set. As the water evaporates out of the mold, the plaster gets warm and hardens!
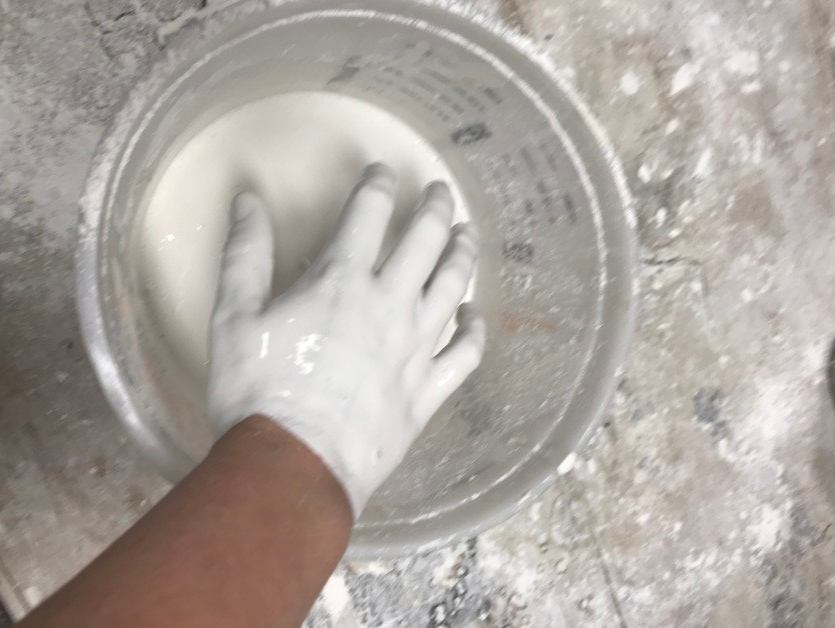
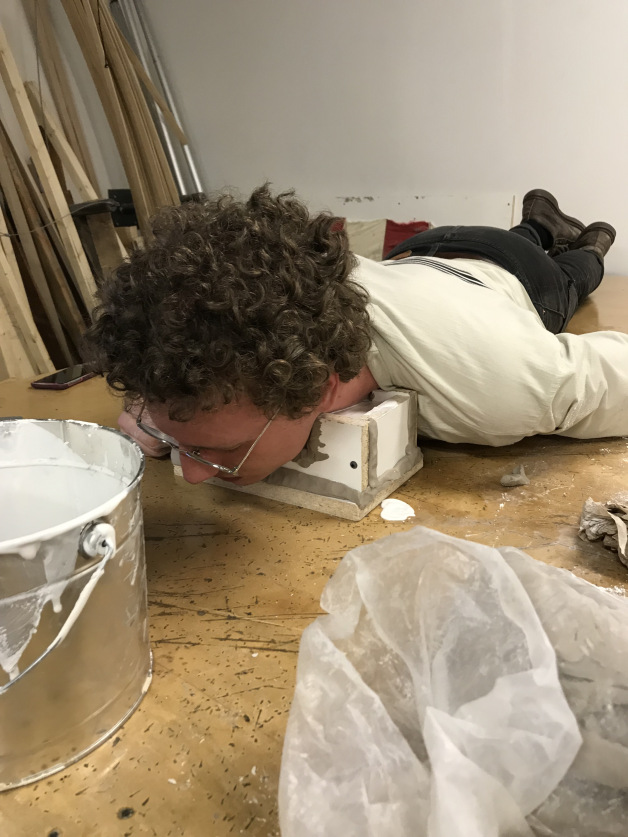
Once we had all six molds done, we sanded the edges and painted to ensure uniformity in our installation.
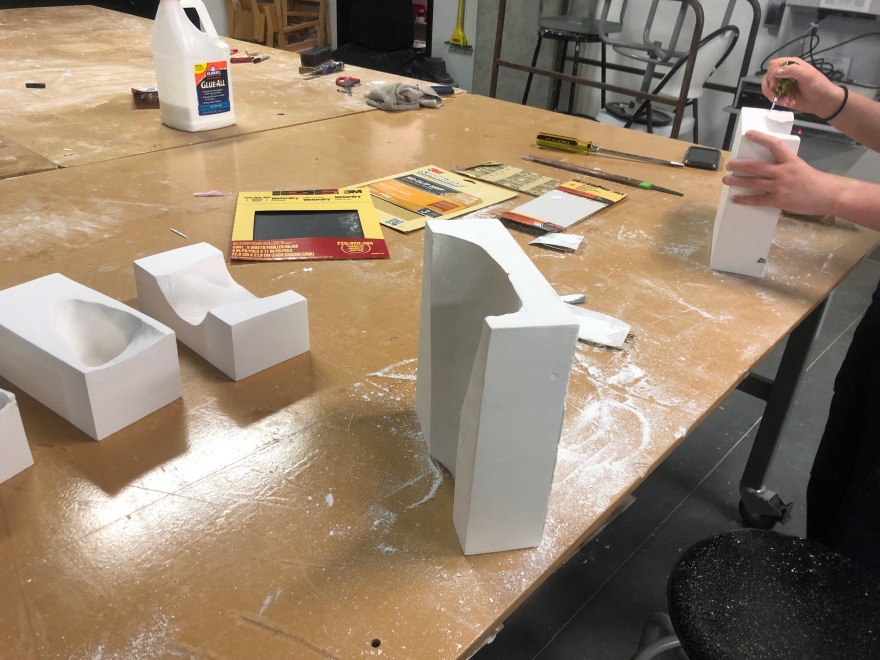
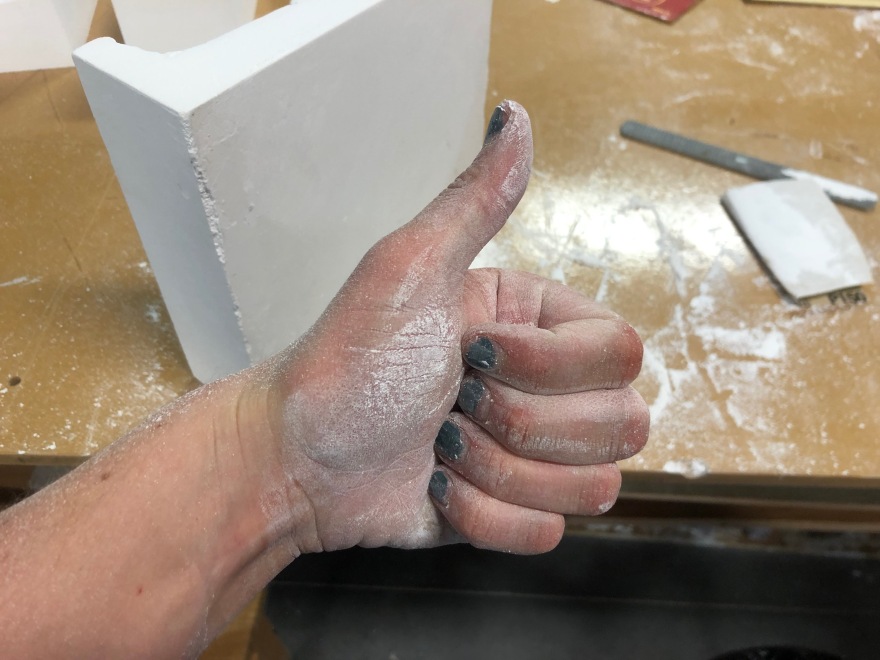
After sanding and smoothing all of the molds, we painted all of them to ensure they all had uniform color, and to cover up any dirt the white plaster had collected.
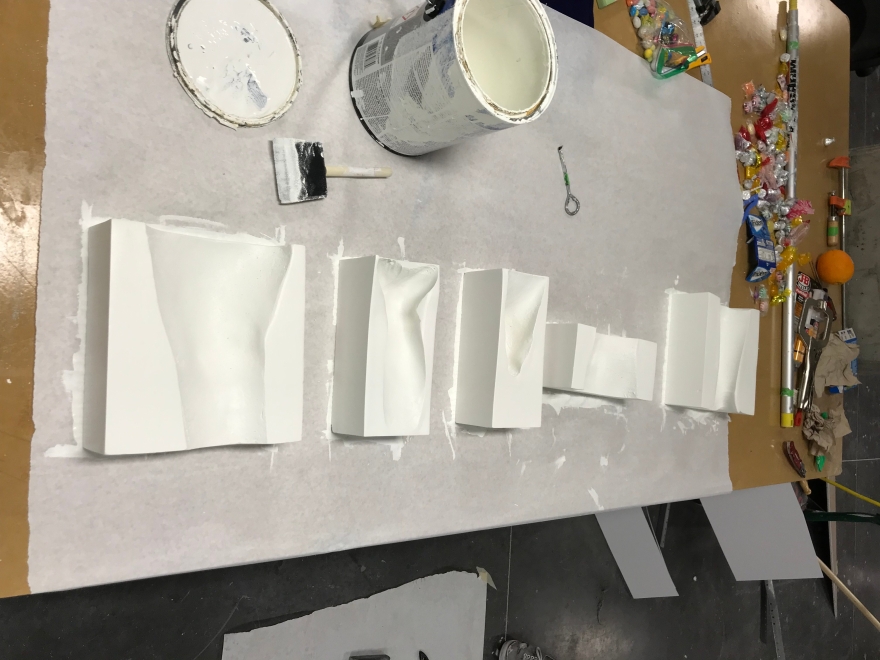
In total, making each mold took about 2.5 hours.
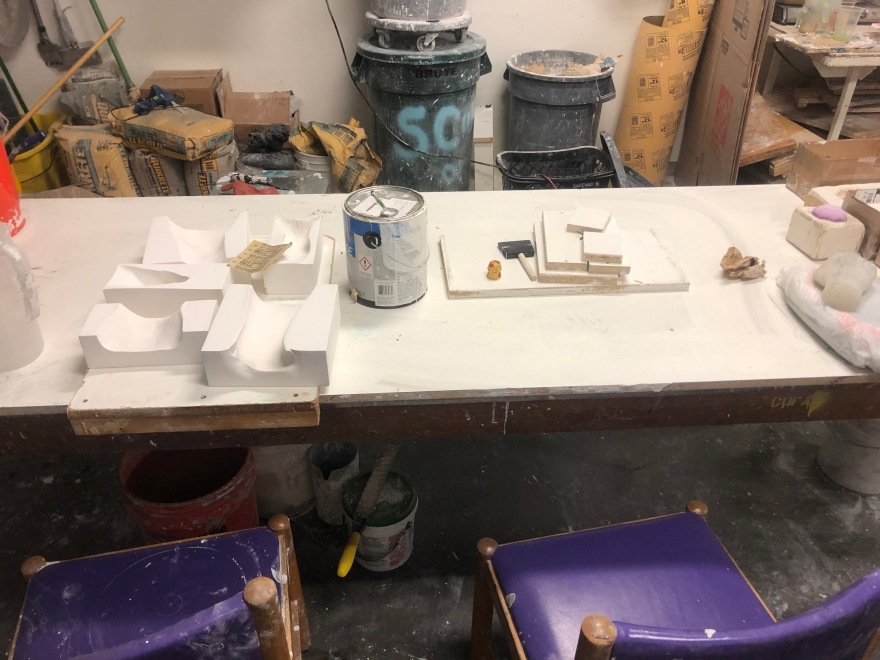
[picture of all 6 molds]
Image:
The next step in our process was to start taking photos of the body parts that had been cast. We photographed the body part up close on each person who had done the impression mold with us.
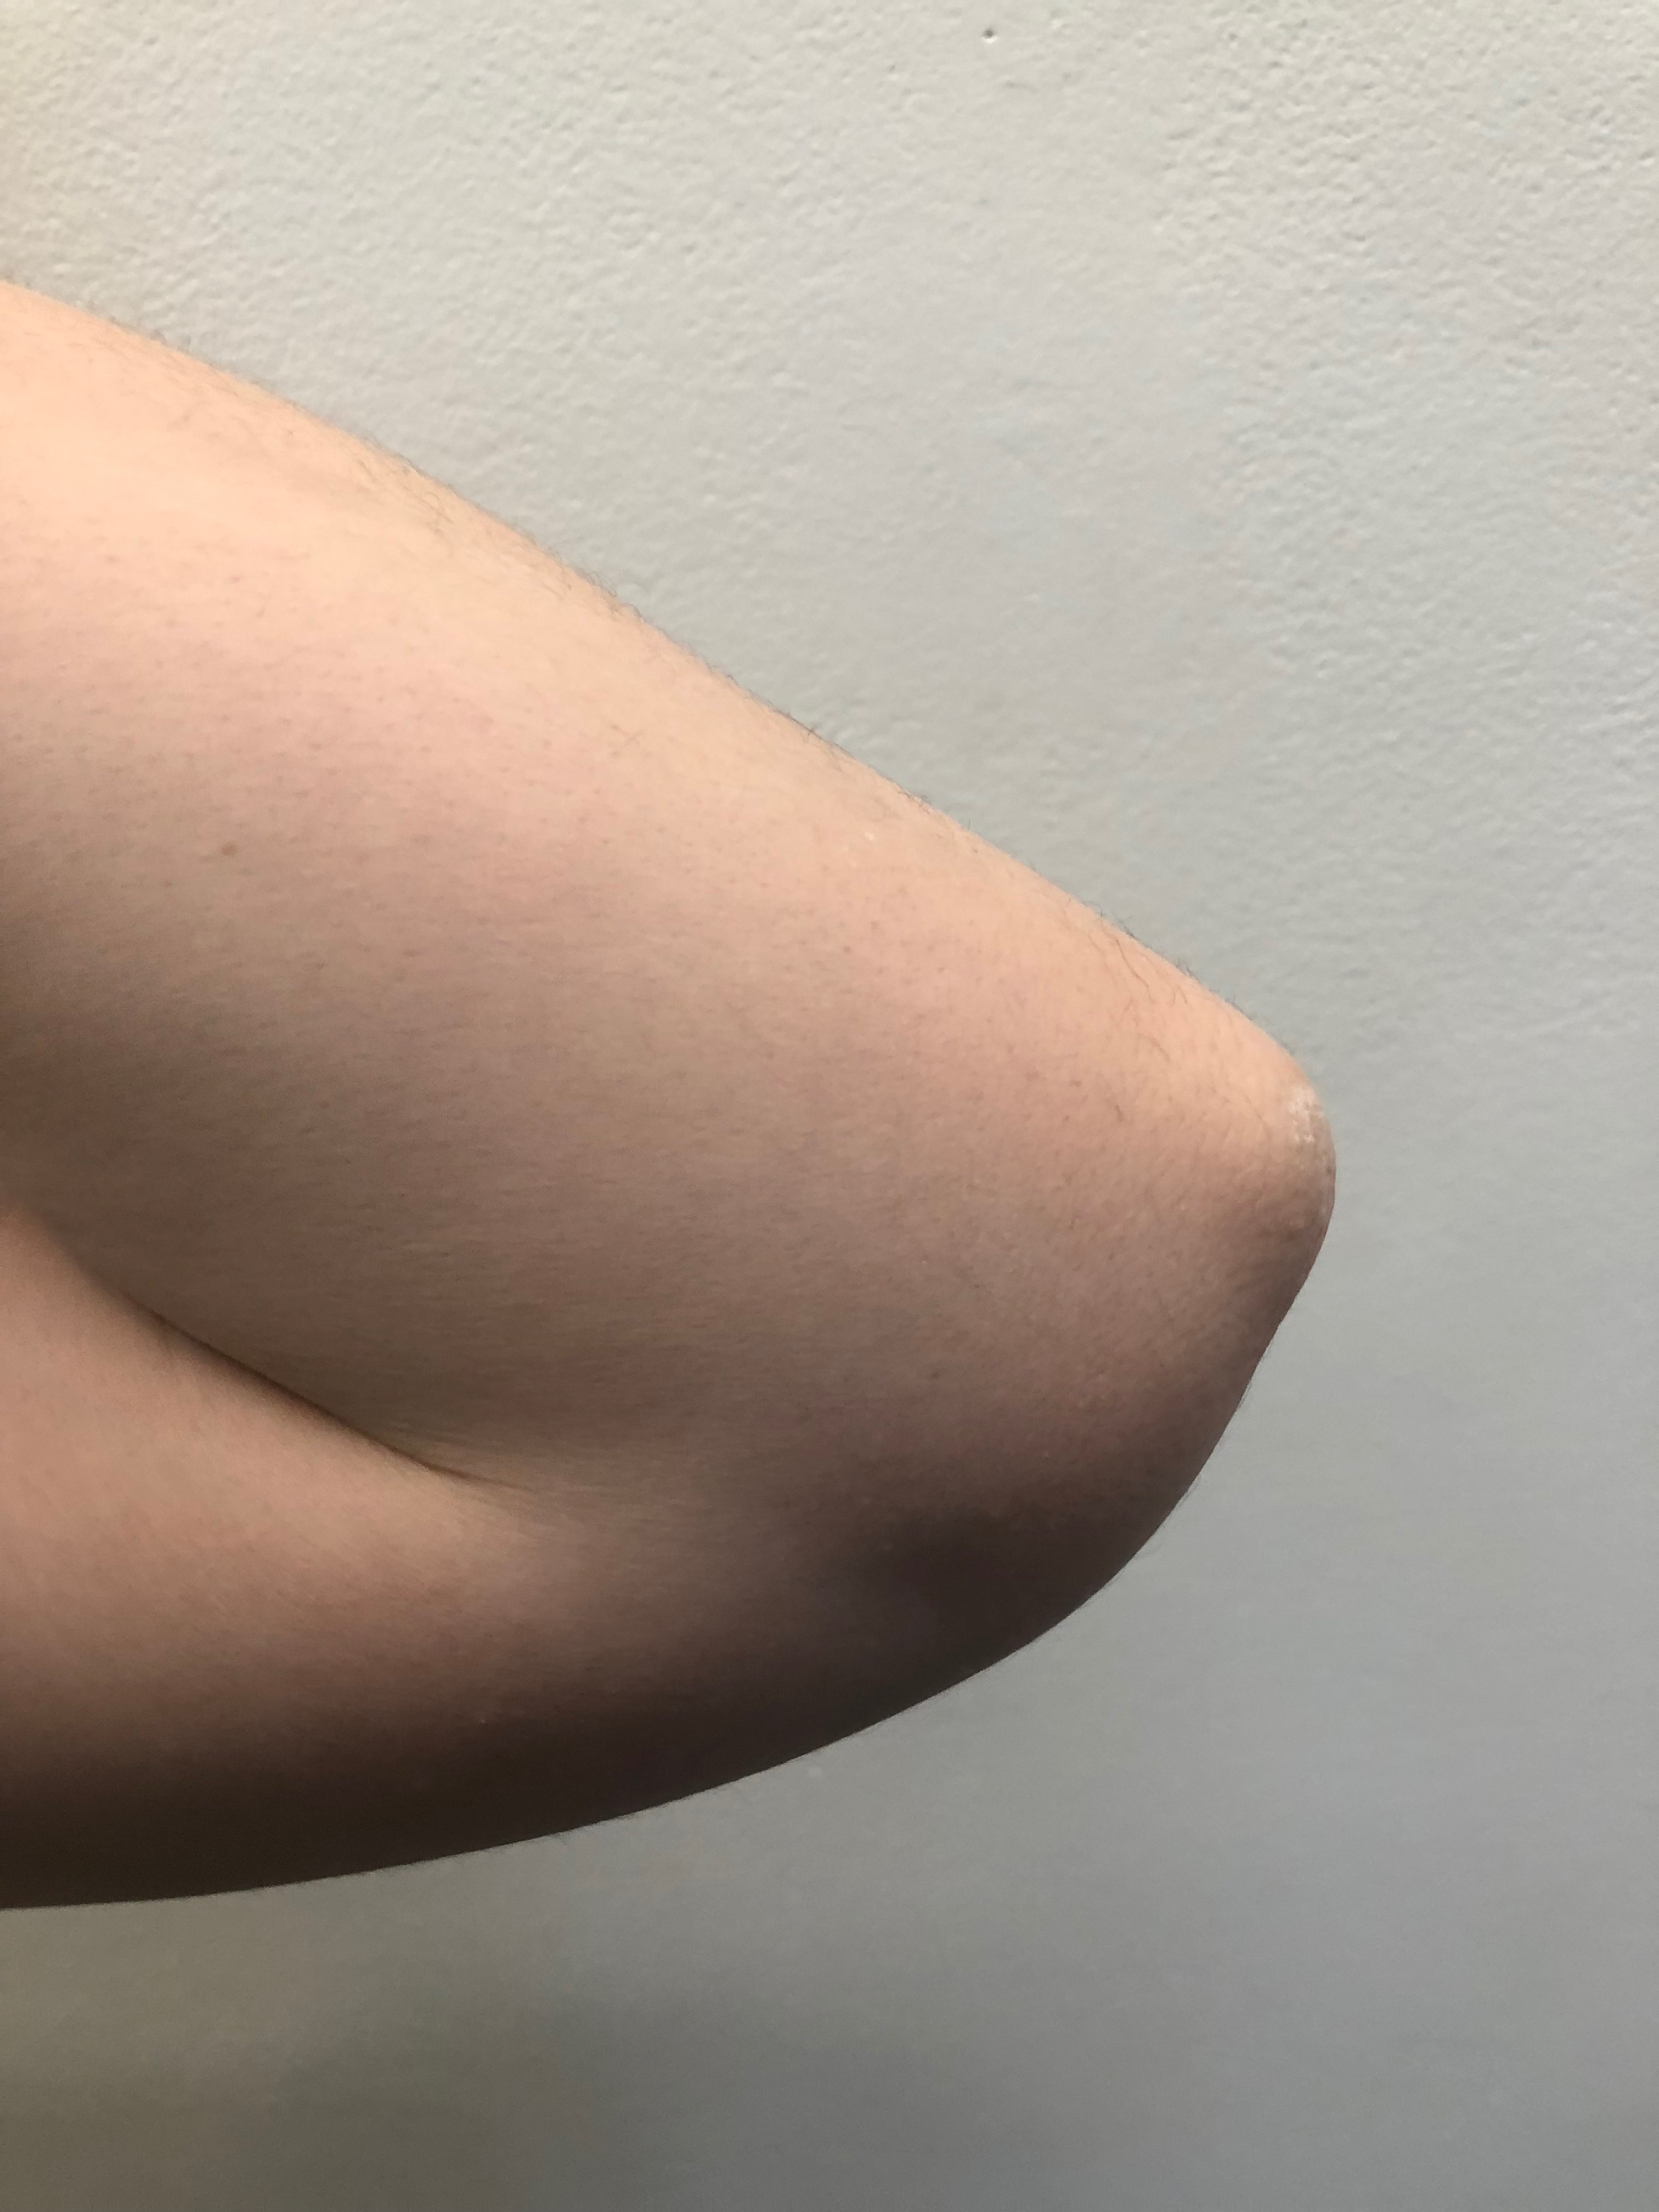
After collecting the photos, we went to photoshop to add the color tints, and the text that we wanted to add. We started with adding “Who am I?” to every poster, then we decided that would be too repetitive, and decided to add in “How am I?” and different combinations of those 6 words for each poster.
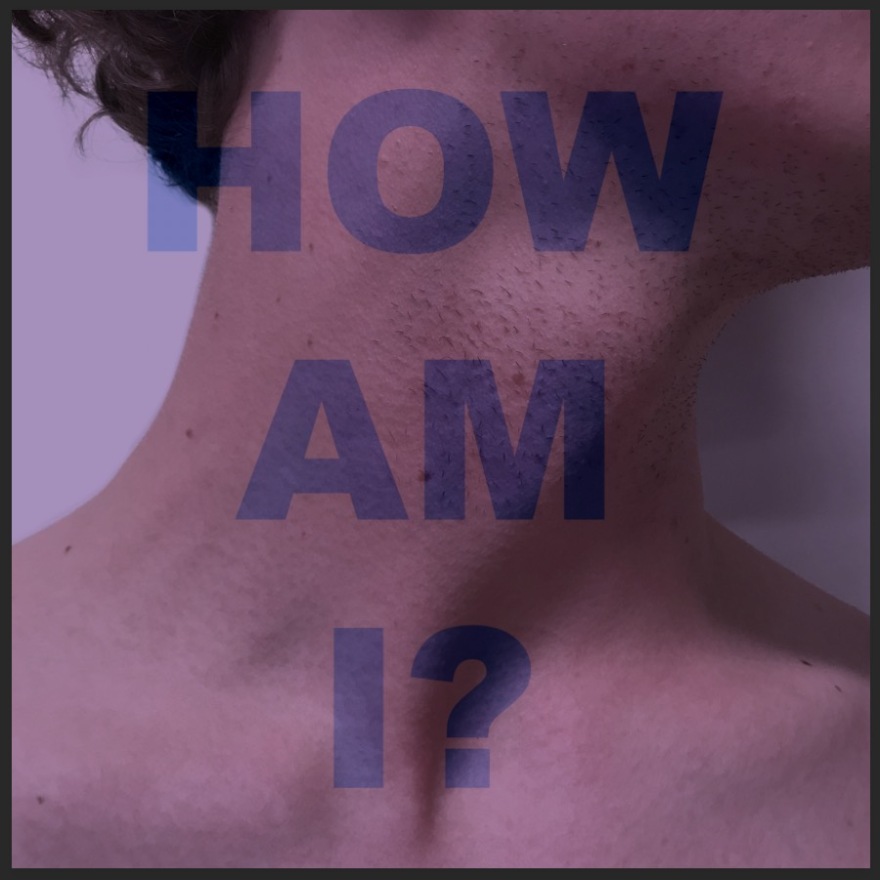
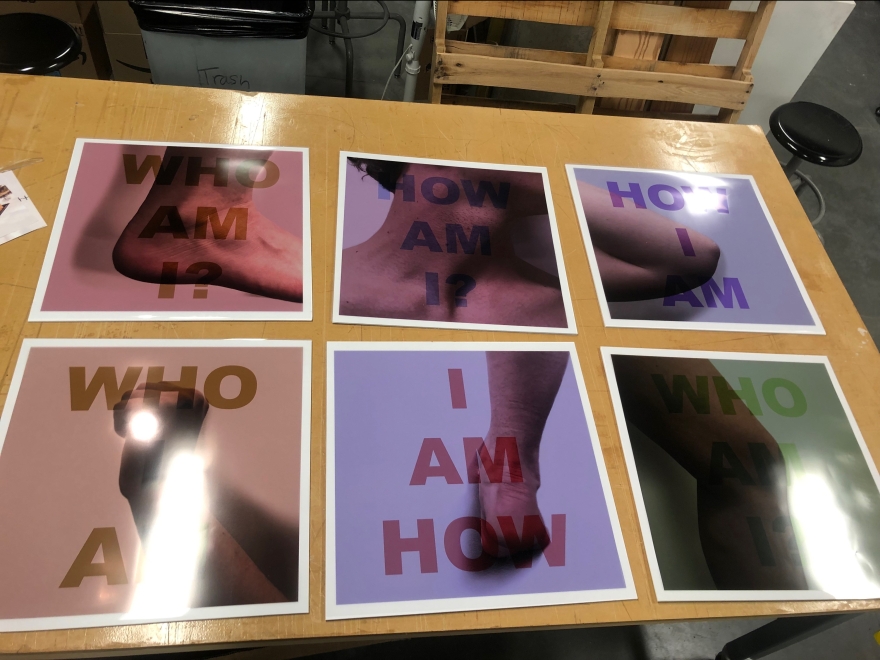
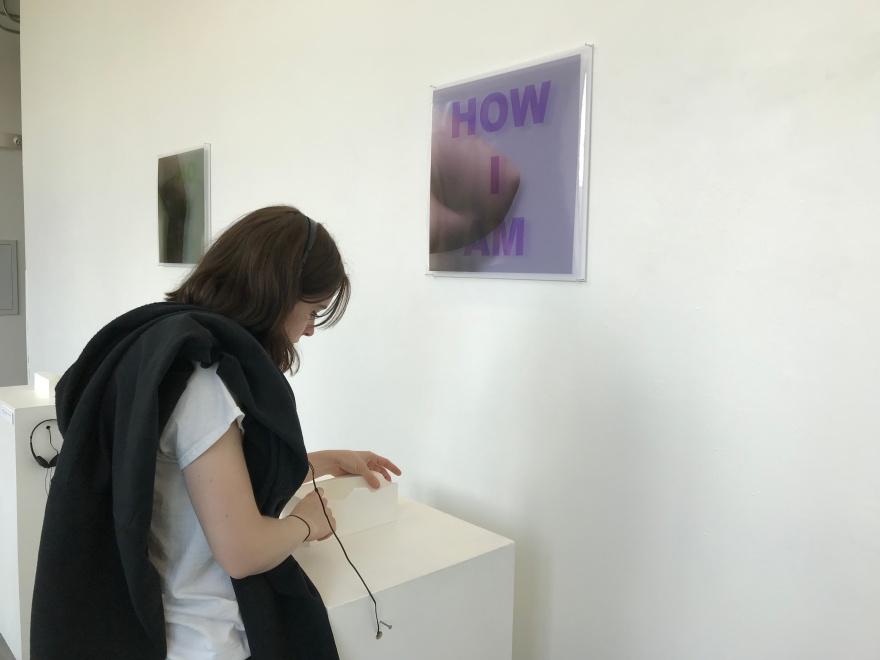
After re-arranging those two questions for each poster, we ended up with Who am I?, Who I am, How am I?, How I am, I am how, and a second Who am I? We chose to have two Who am I? posters so the experience started and ended with our essential question.
Once we had worked out each of the posters, and gotten them to have a consistent aesthetic, we had to decide how we were going to print and mount them. We got quotes from different printers and different traditional paper/printing styles, but we weren’t satisfied with what the product would look like if the posters were printed on flat white paper. So, we got creative, and decided that a transparent paper would give us the translucent, soft look we were going for.
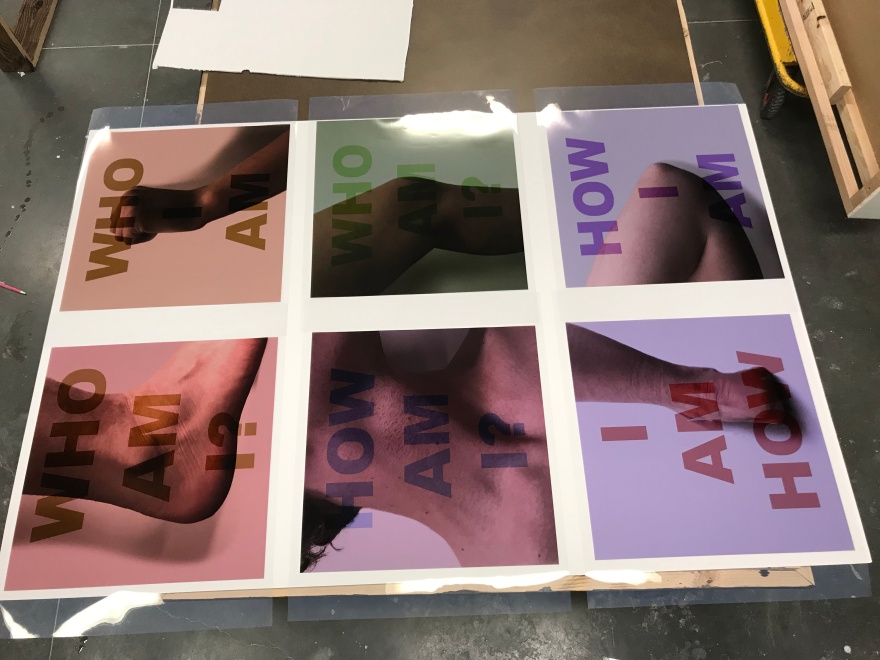
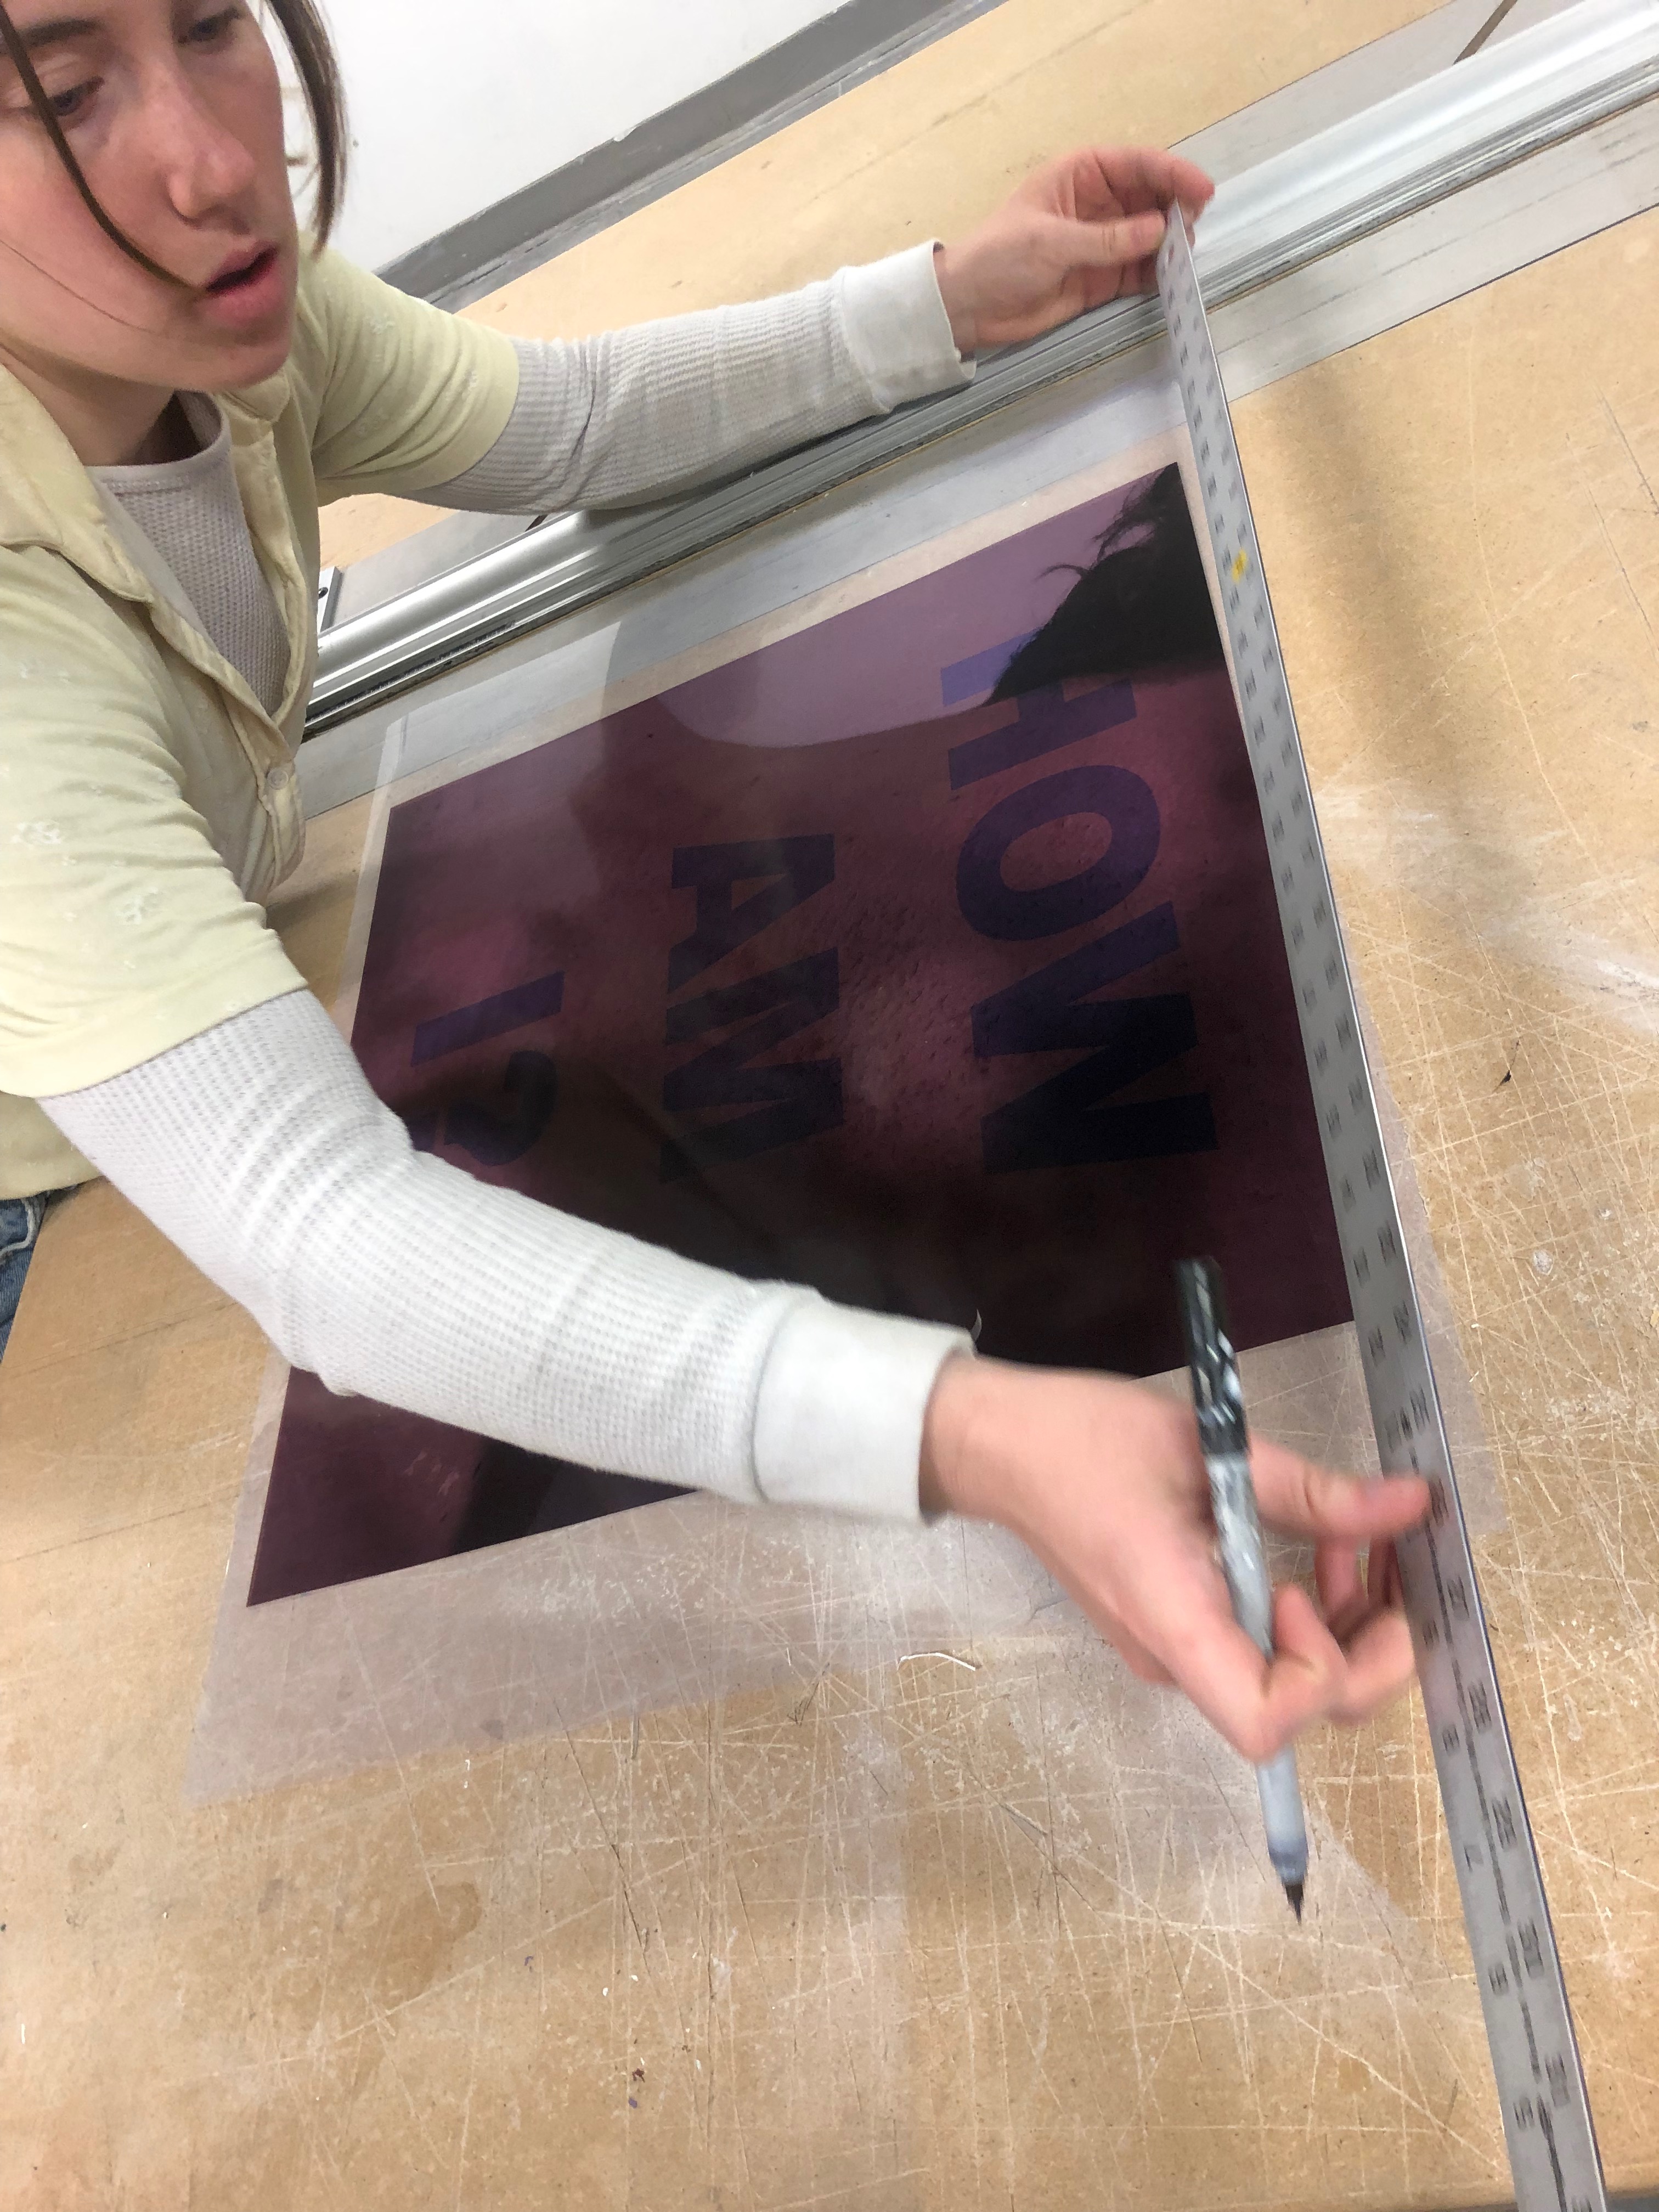
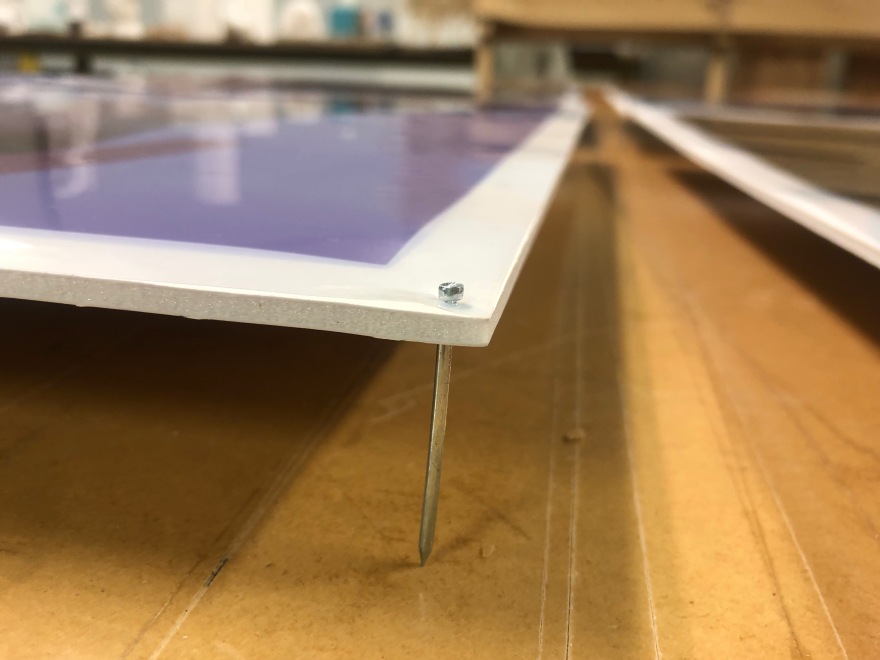
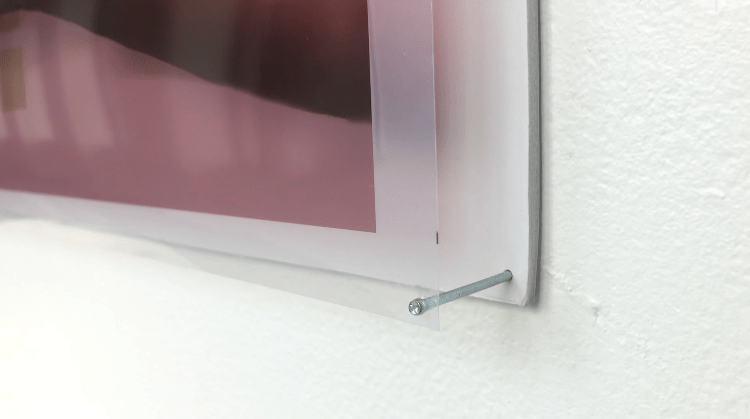
To start the mounting process, we had to cut down the framing edge of each poster using the mat cutting tool in the art building. Printing on the transparent paper gave us a lot of creative room to play with the way we mounted these posters. Since we were going for a fragmented, soft, and translucent look with the posters, we decided to use a mounting technique where we cut foam-core to the same size as the posters using the same mat cutting tool, and put long, thin finishing nails through the posters and the foam core.
Audio:
We knew we wanted this project to include audio, visuals, and physical touch, so the last part we had to put together before installing was the audio. We started by having brief conversations with each person who did a body part mold with us. We tried to keep the conversations as mundane and normal as the conversations are that we have everyday in passing. To finish the audio recordings, we would ask each person to finish the sentence “who are you when…” with their own question. This added a personalized bit into each recording that would give the audience more of an idea of what we were trying to get them to think about throughout our experience.
The next step in the audio process was to edit out all of our parts of the conversations. This left us with really fragmented, awkward sounding blips of conversations that would finish with an intimate question.
Finally, to get the audio ready for install, we uploaded each recording onto its’ own mp3 player. This way we could easily conceal the audio devices inside the pedestals leaving only the headphones exposed. We then set the mp3 players to play the recording on repeat so no matter when someone picked the headphones up, the audio would be playing to complete the experience.
Installation:
During this project, our goal was to create an experience that was finished, polished, and worked well. Most of these details – aside from all of the detail work we put into the molds – came into play during the final installation stage.
Before we could do anything else as far as installing, we had to re-paint all of the pedestals that we were going to use. Many of them had chipped paint, and all of them were very dirty. We knew that something small like this could really detract from the overall aesthetic of our piece, so we were sure to go the extra mile in every way possible.
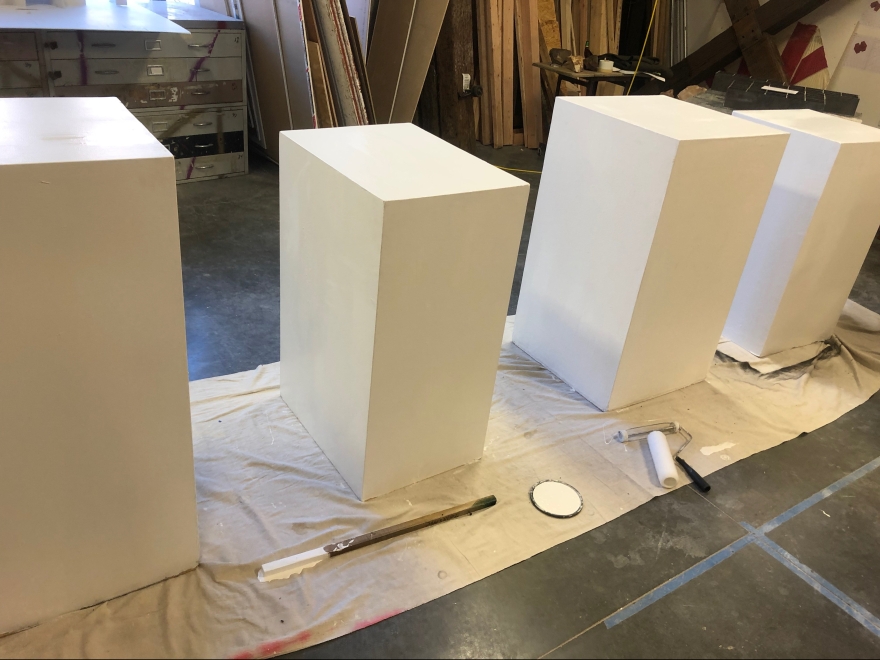
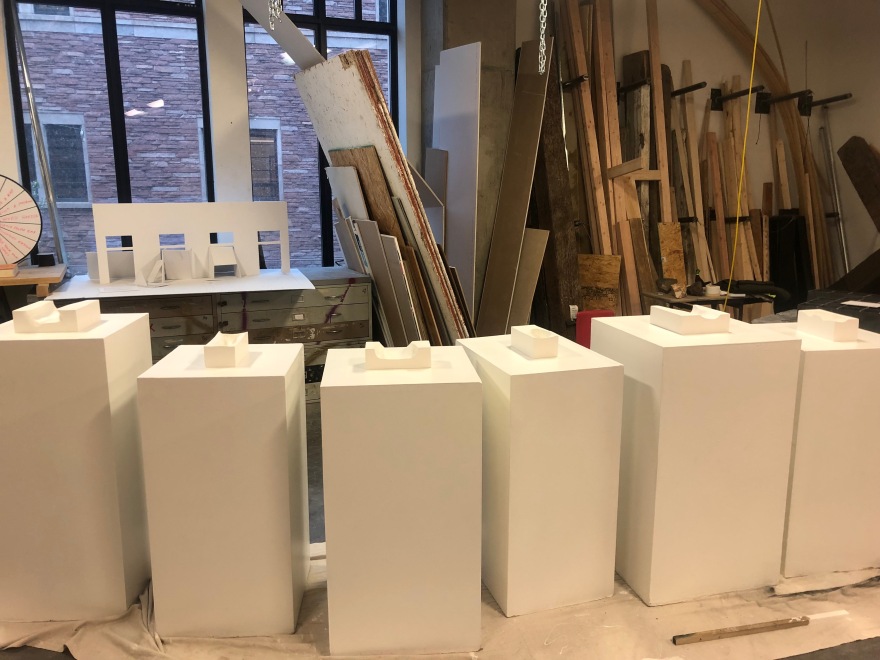
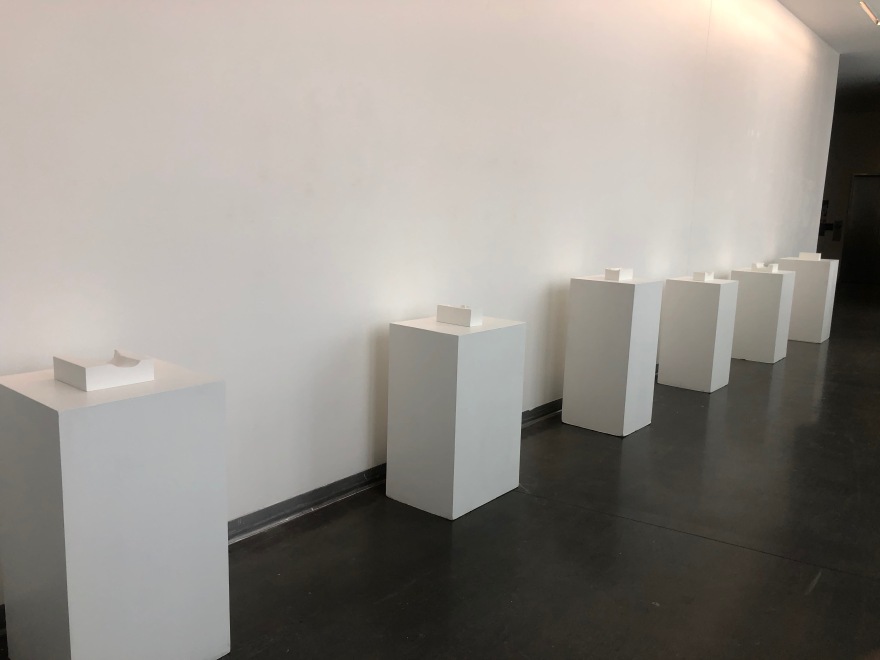
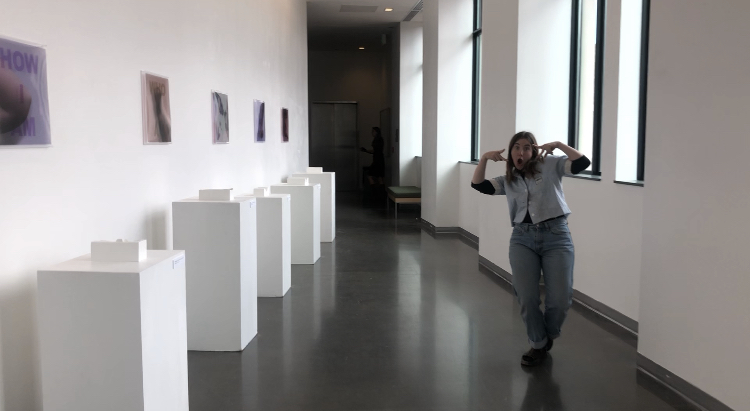
After all of the pedestals were painted and ready to go, we moved them upstairs to the third floor where we would be installing our piece for the week. We measured out the distance between each pedestal so they had some room between them, and so they would be evenly spaced on the wall.
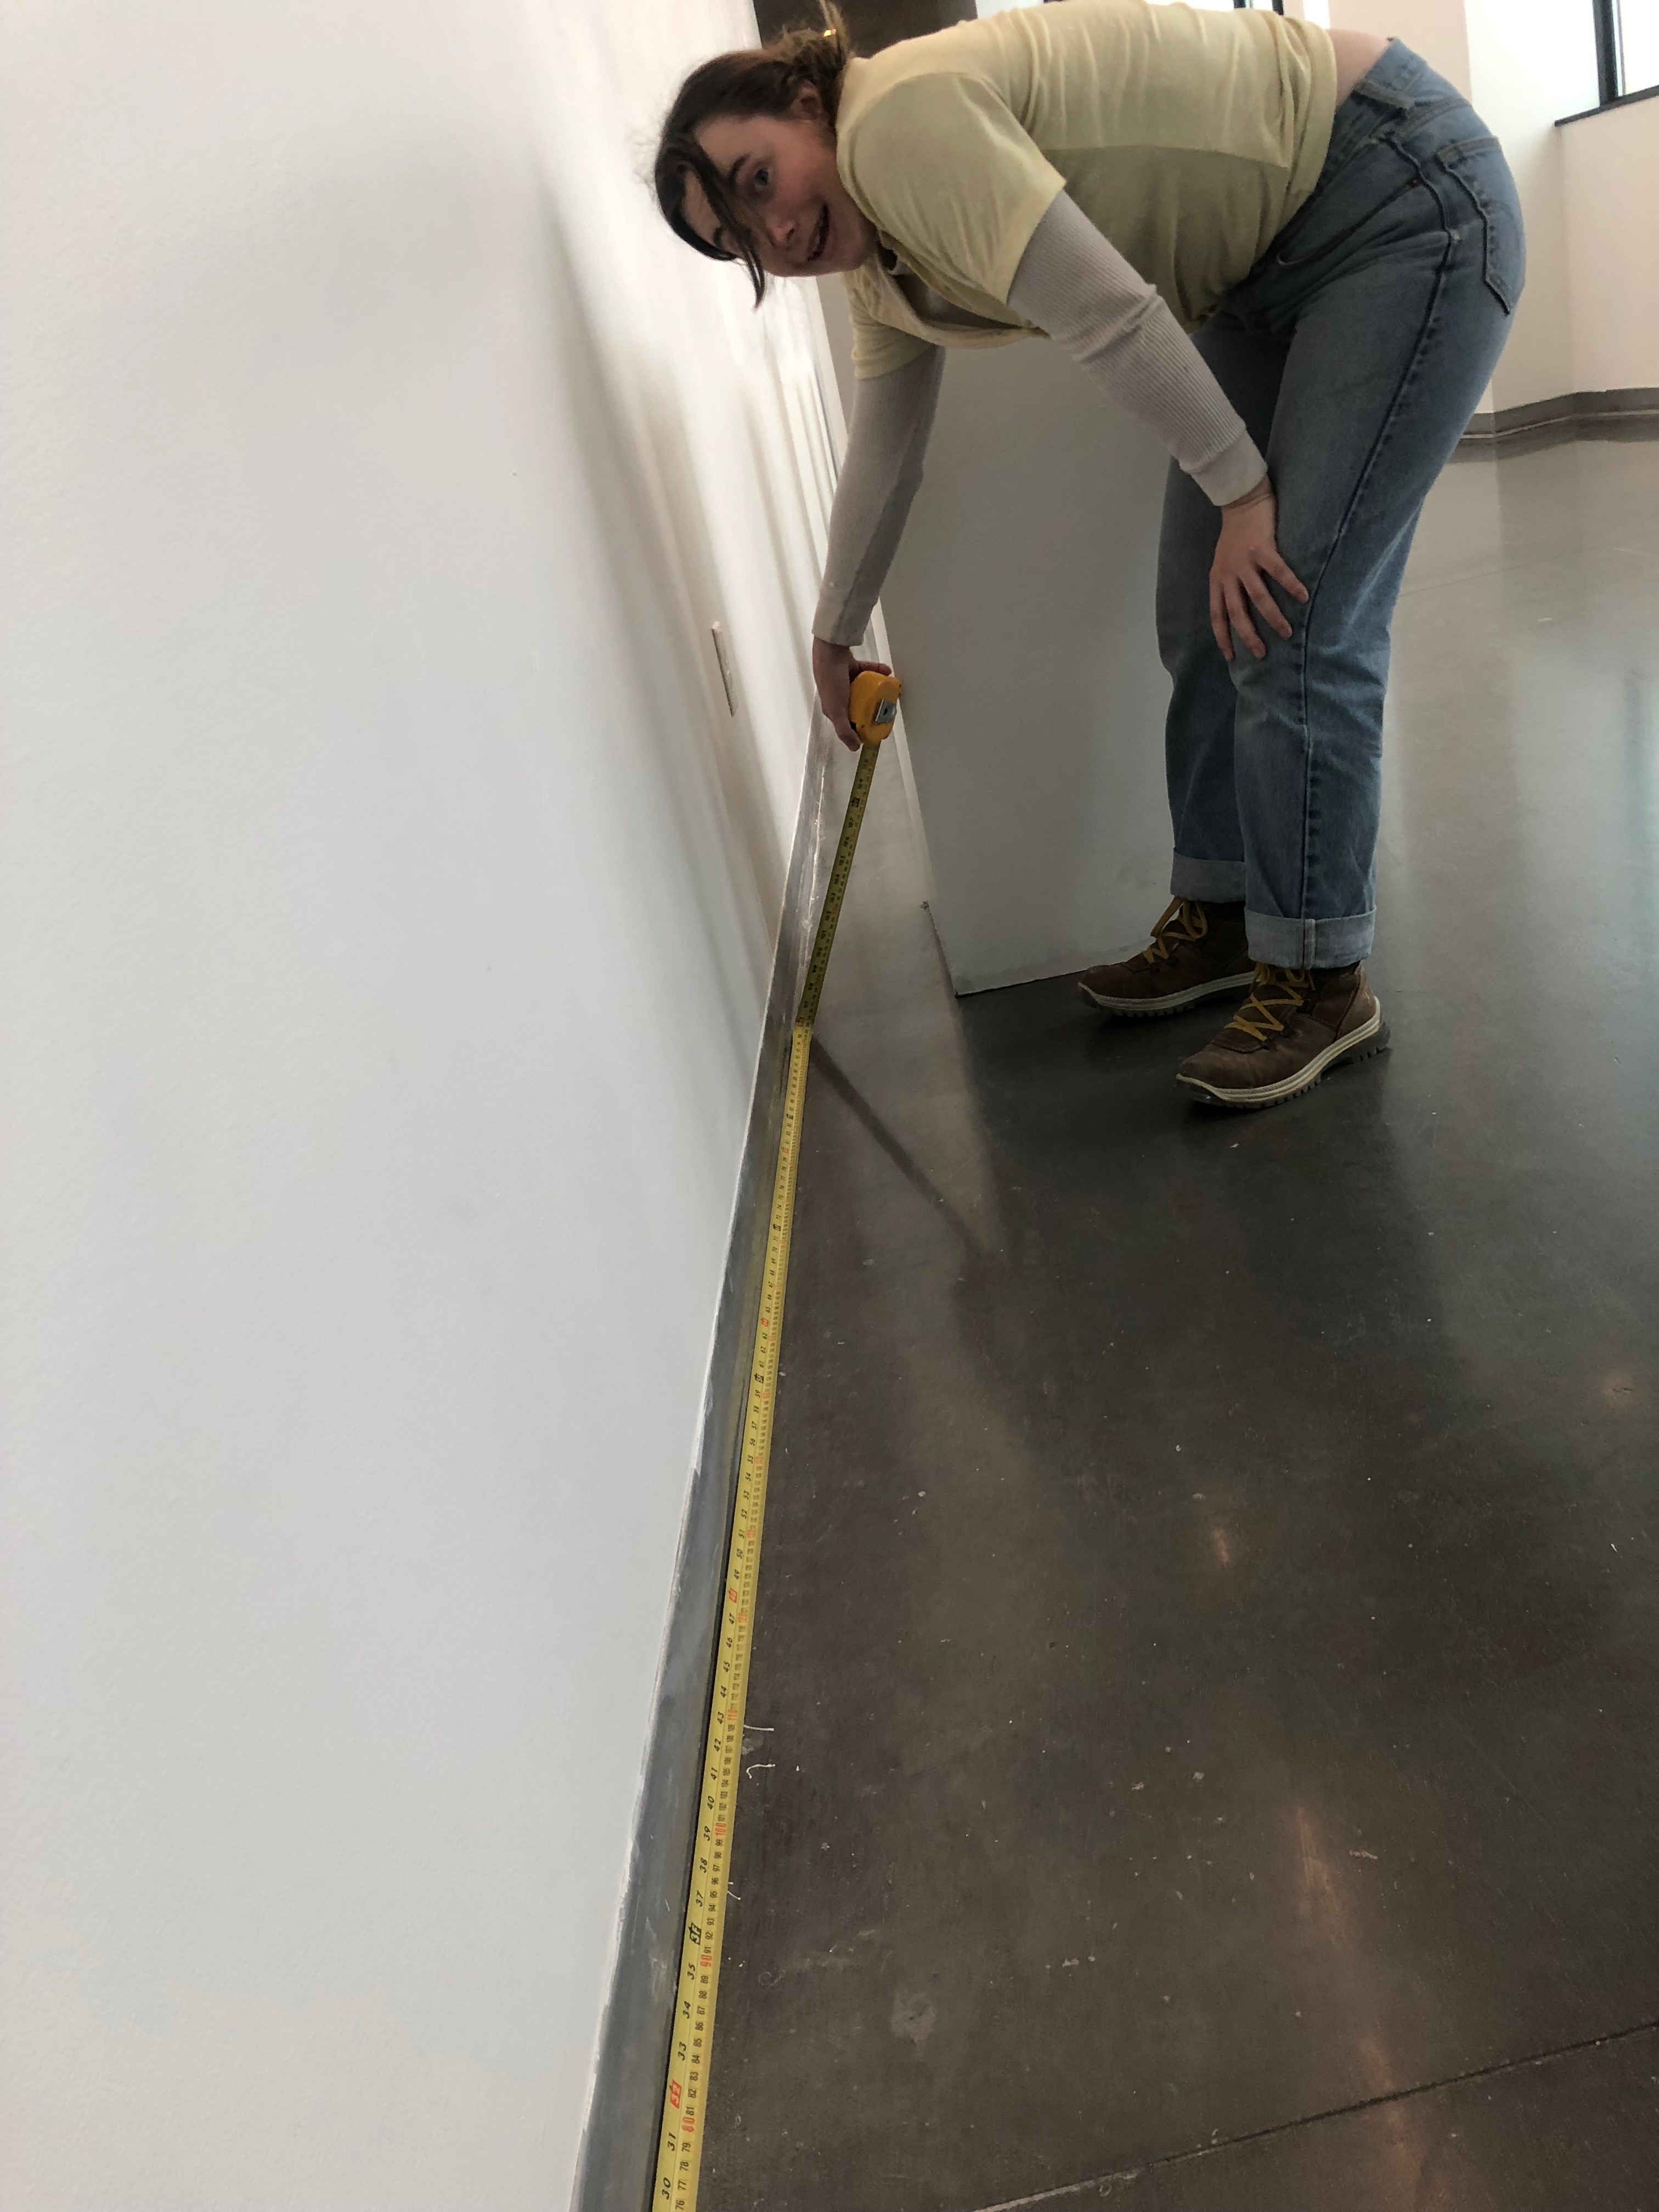
We also had to do some joking around, of course.
In order to get interesting shadows behind the posters, and further the fragmentation and translucent aesthetic, we pushed the posters to the front of the finishing nails, while keeping the foam-core flush against the wall where we installed.
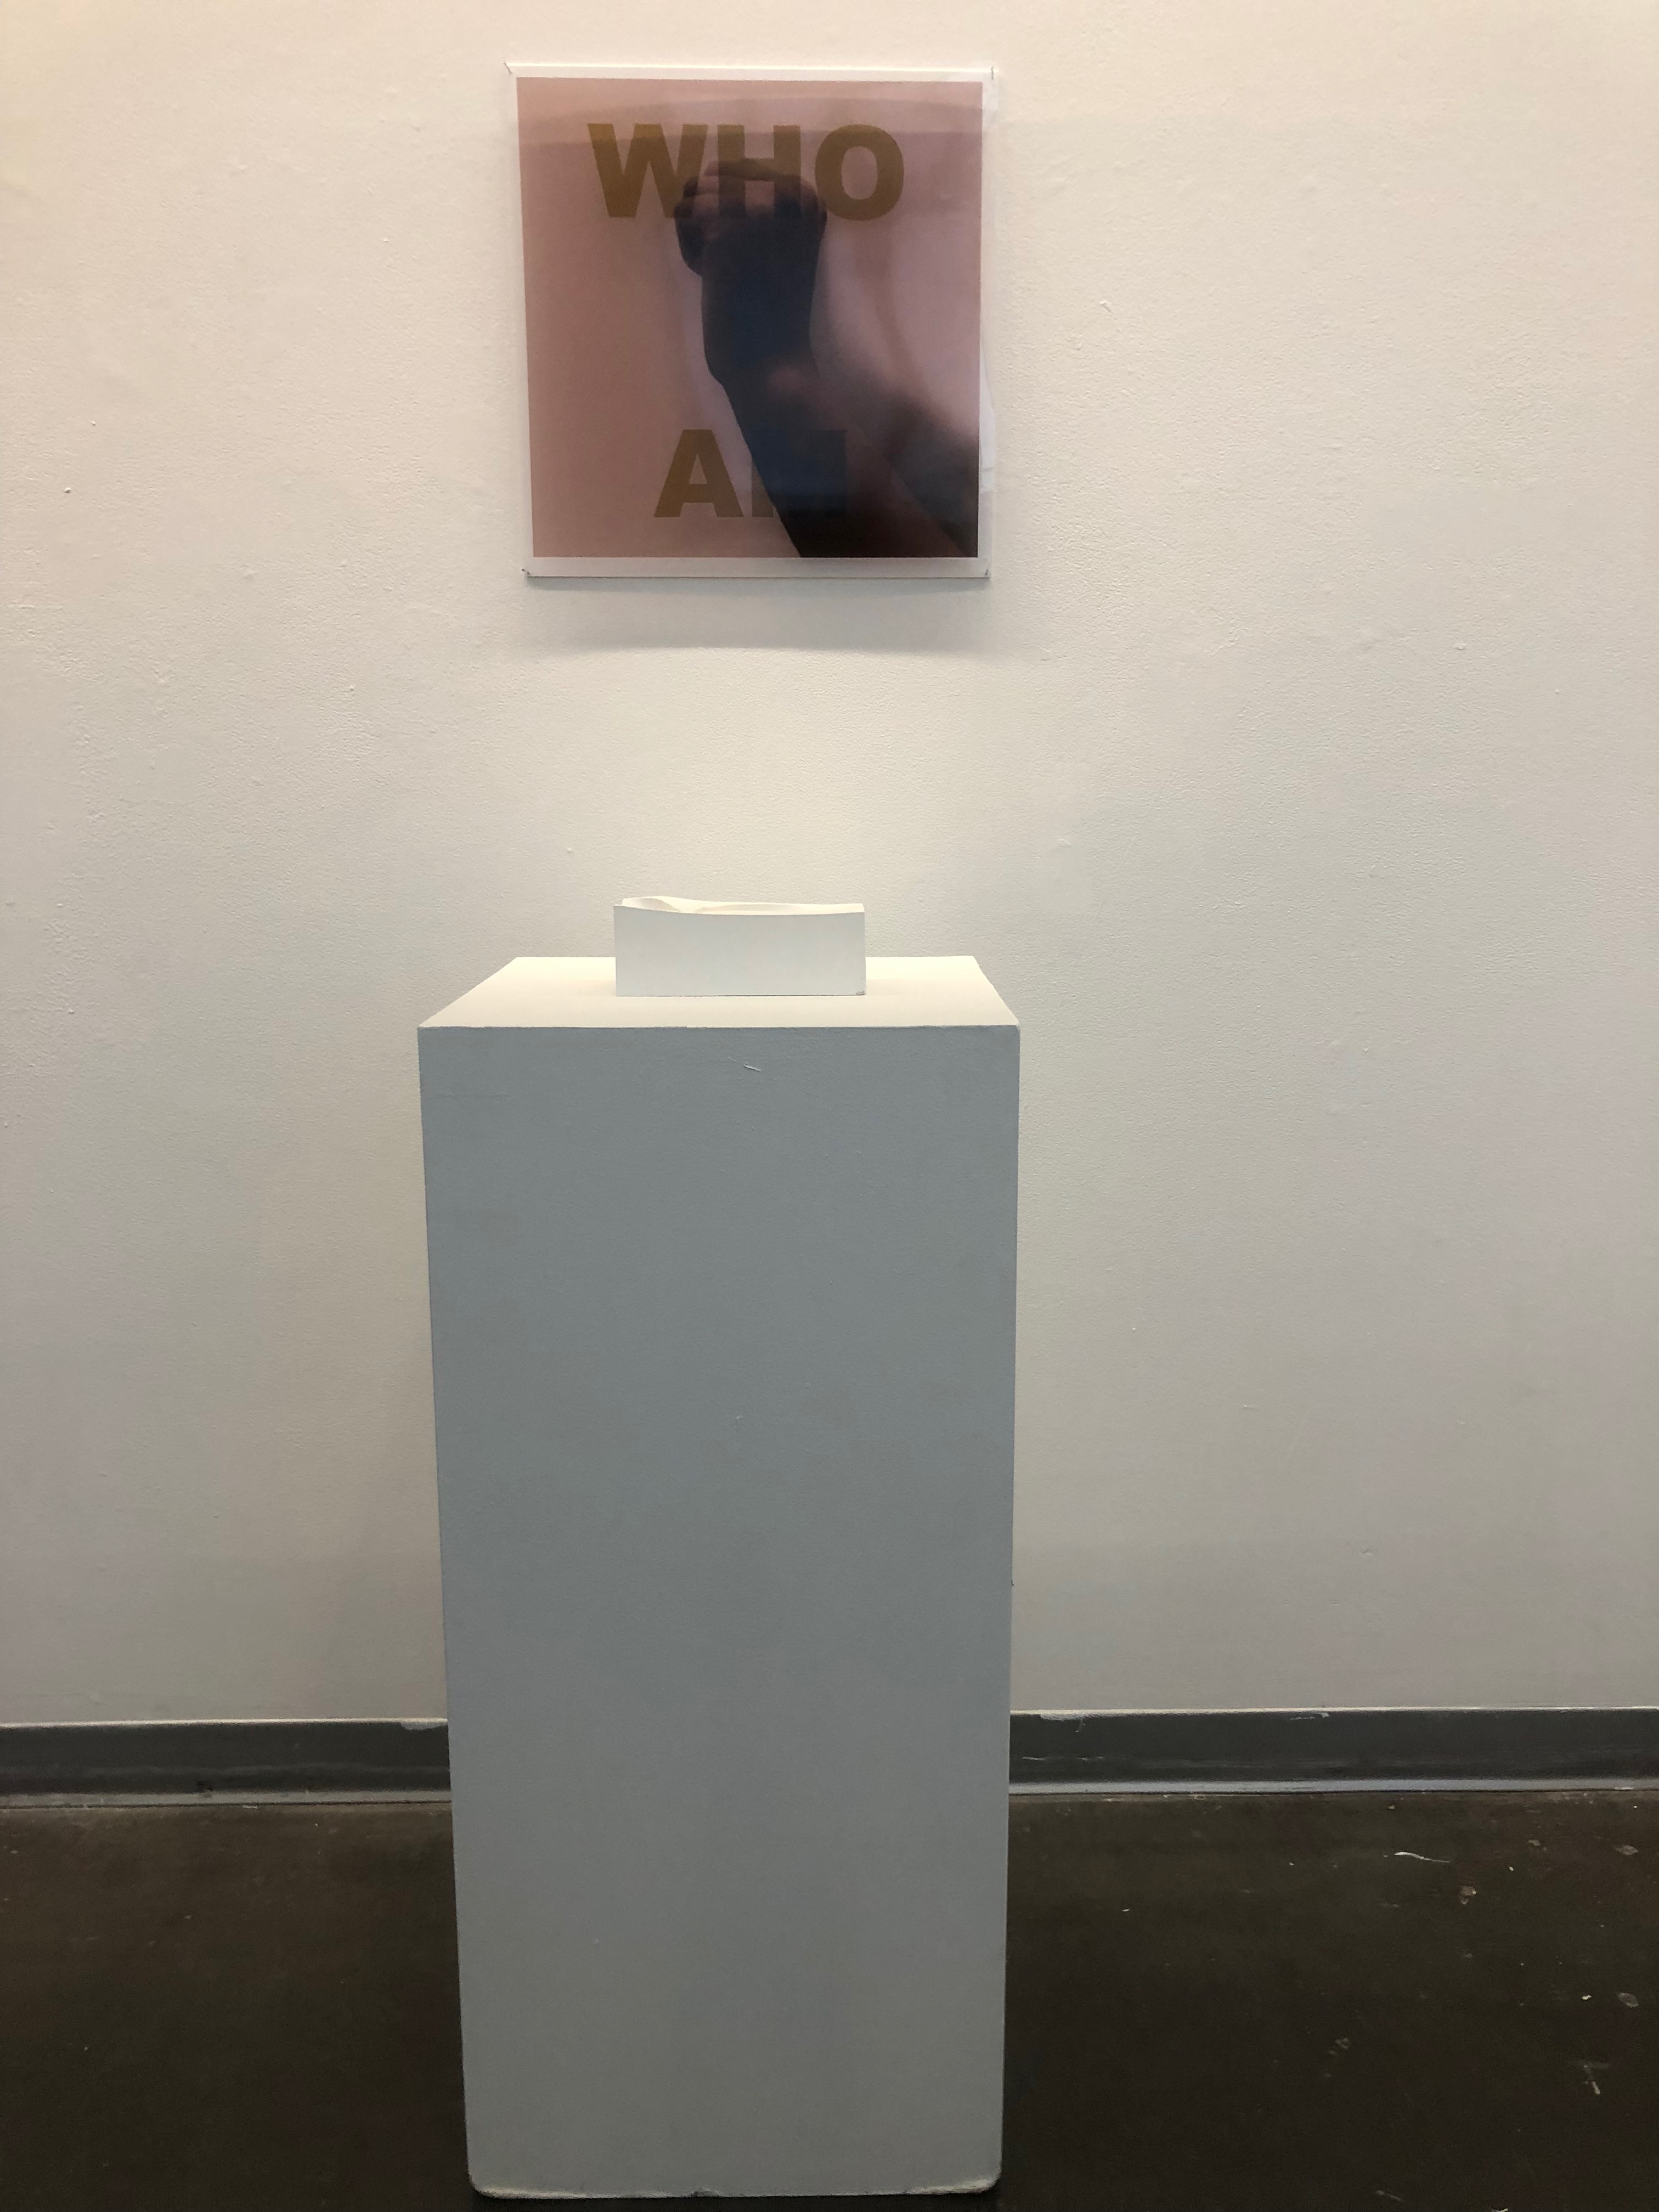
The very last step in the process was hiding all of the mp3 players inside the pedestals, and hooking up the headphones. First, we hammered a nail into the right side of each pedestal and then we drilled a hole right below the nail large enough to fit the aux jack into the pedestal for hook up. We then crawled inside each pedestal, taped the mp3 players to the inside, plugged the headphones into them, and made sure they were all playing the audio on repeat. Once we had done all of this, we cleaned up any sawdust, and the project was fully installed!
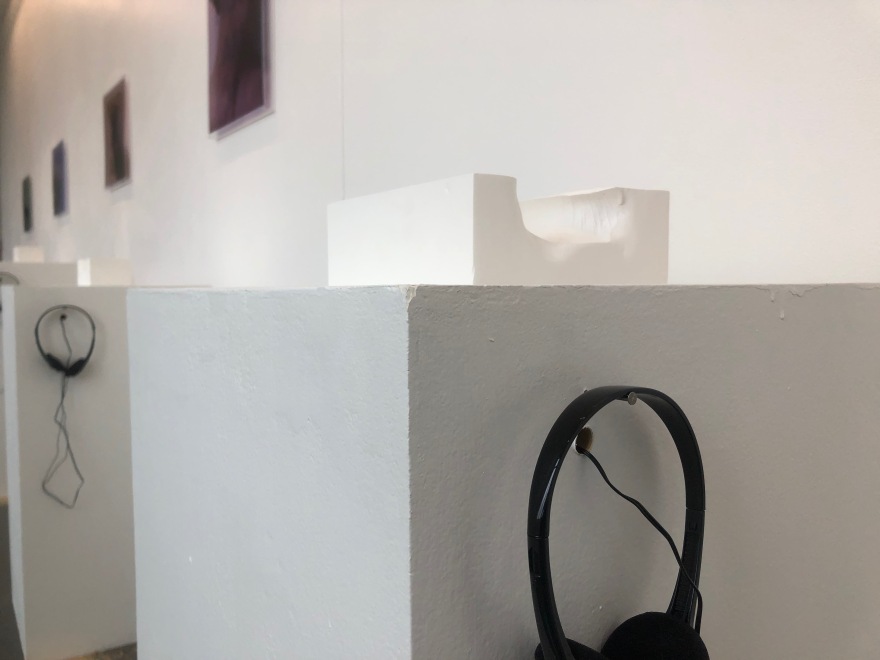
FINAL PRODUCT
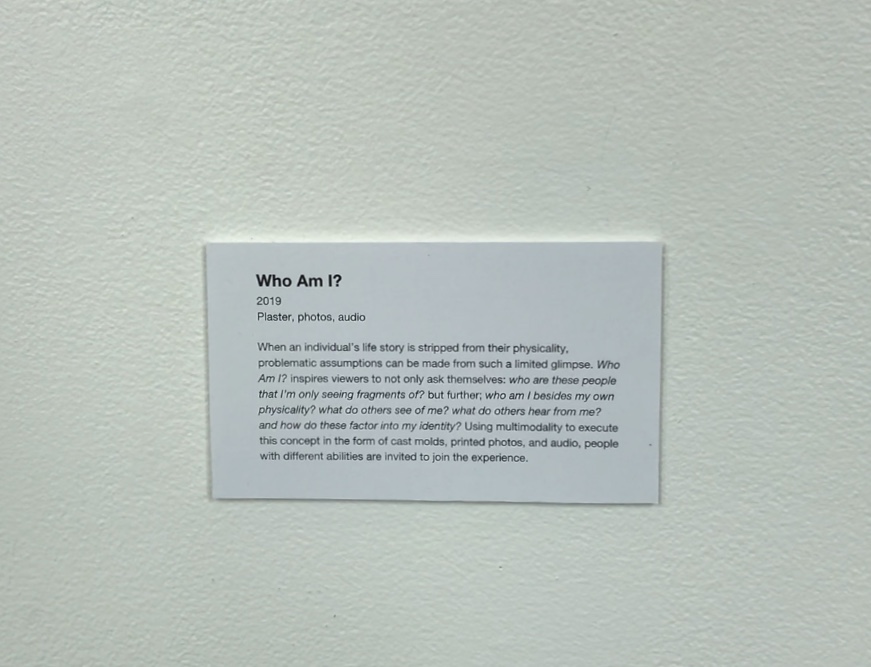
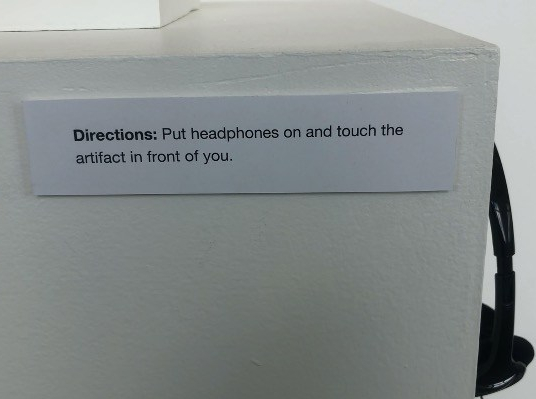
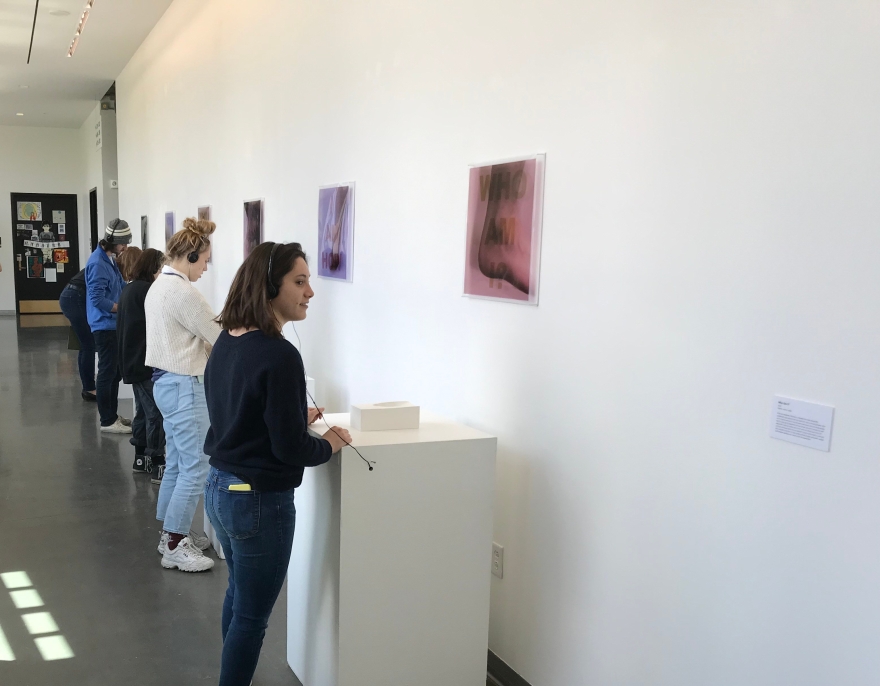
To encourage proper use, and to facilitate the experience that we aimed to create, we added some simple directions to each pedestal. The directions told users to put on the headphones, and touch the artifact in front of them. We also added a brief artist statement which outlined our project and what we were trying to get across for viewers who were hungry for a little more information.
Photos of User Participation:
What we created was only half of the whole piece. User interaction and experience is what made this project. Whether or not the intellectual response people had was what we wanted, most of the users we documented were physically interacting with the piece as we intended! Success!
REFLECTION
I loved finishing up the semester with this project. Sara was so fun to work with, we had great team chemistry so every step of the way went as smoothly as it could. In this project I learned a lot about bridging gaps between different sensory experiences of a project, and how to communicate our concept. Which was one of my biggest goals this semester! I think both Sara and I were proud to show our final project to the class, and it definitely was the best it could be because of our teamwork.